
Learn
The Mold Remediation Process: Containment to Clearance
Containment barriers, negative air and HEPA scrubbing, removal, and post-remediation clearance testing — S520-standard remediation explained.
Professional mold remediation follows a specific sequence based on the IICRC S520 standard. Every step exists for a reason — skipping any of them turns a job into a callback in weeks.
The core sequence
- Assessment and source identification
- Containment
- Air filtration and negative pressure
- Removal of affected materials
- Cleaning of remaining surfaces
- Antimicrobial treatment
- Post-remediation verification
- Reconstruction
Let’s walk through each.
Assessment and source identification
Before any work starts, we identify:
- Where the mold is (visible and hidden)
- What it’s growing on (paper, wood, drywall, etc.)
- Why it’s growing there (the moisture source)
- How extensive the growth is
The moisture source matters as much as the mold itself. If we remediate mold but leave the leak, mold comes back. Fixing the source (or coordinating with a plumber, roofer, or waterproofer) is part of the job.
Containment
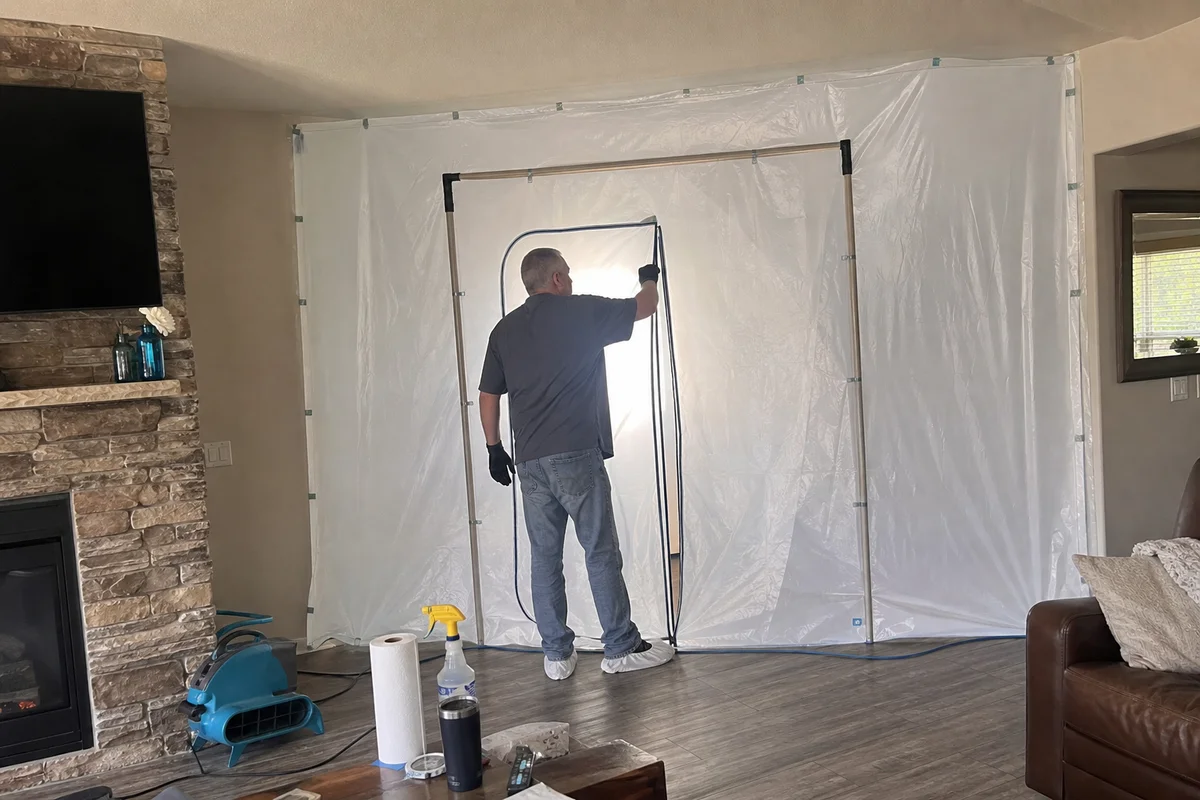
We build plastic barriers around the affected area, usually 6-mil polyethylene sealed with tape. A zippered entry allows crew access. HVAC vents in the containment area are sealed off to prevent spore migration through ducts.
For extensive jobs, we use double-layer decontamination chambers where crews change PPE and clean before exiting.
Air filtration and negative pressure
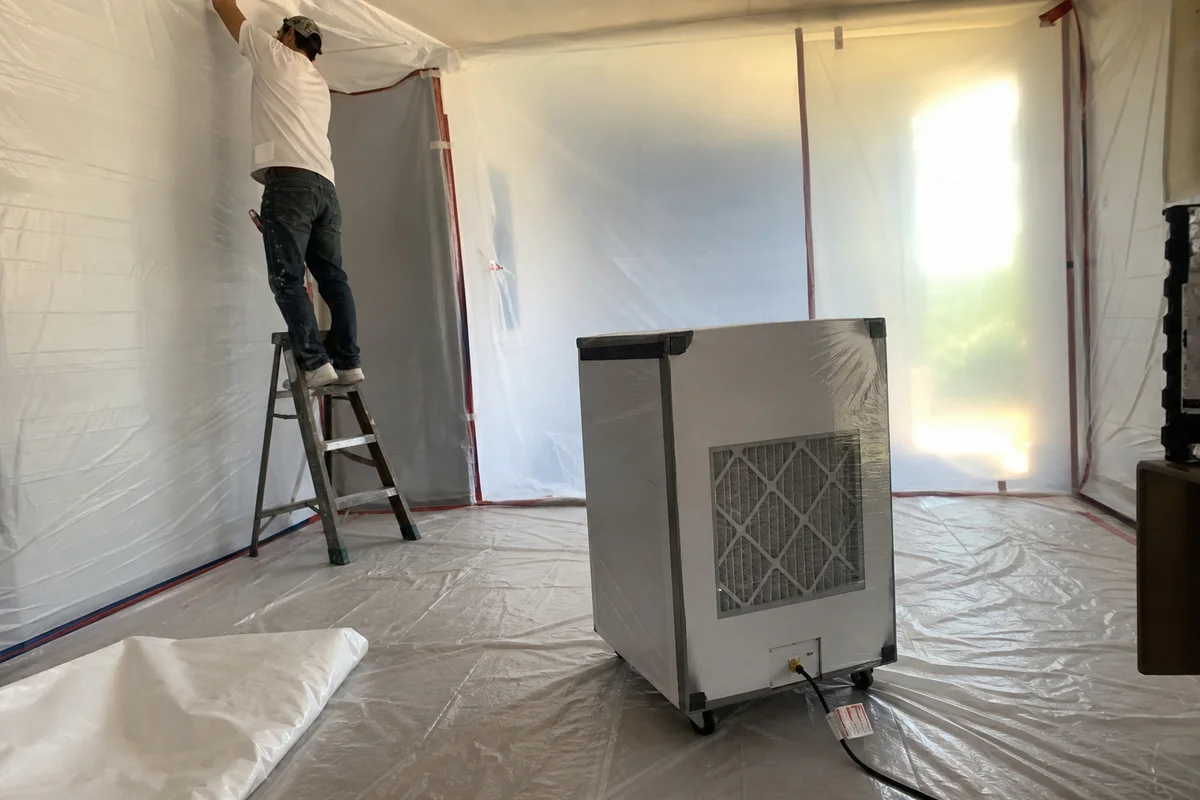
Inside containment, we run HEPA-filtered air scrubbers. These create negative pressure — air flows into containment but not out — so any spores released during removal are captured by the HEPA filters instead of drifting into the rest of the home.
Air changes per hour are calculated based on the containment volume; typically 4 to 6 ACH for standard remediation.
Removal of affected materials
Materials the mold has colonized come out:
- Drywall paper — mold eats paper, drywall gets removed
- Wet or heavily-affected insulation
- Porous materials (particleboard, carpet, upholstered items) if extensively contaminated
- Wood framing surface — often HEPA vacuumed and treated rather than removed unless heavily degraded
Removed materials go into sealed bags before leaving containment, then out as regulated debris.
Cleaning of remaining surfaces
Everything that stays in the containment area gets HEPA vacuumed, then damp wiped:
- Framing lumber
- Concrete
- Subfloor plywood
- Non-porous fixtures
- Metal ductwork if accessible
The goal is source removal — physically removing the mold, not just killing it. Dead mold spores still cause allergic reactions.
Antimicrobial treatment
After cleaning, remaining surfaces are treated with EPA-registered antimicrobial. This is preventive — it kills any residual spores and inhibits future growth on treated surfaces.
Note: antimicrobial is not a substitute for physical removal. Killing mold in place without removing it is the classic DIY mistake — dead mold still causes symptoms.
Post-remediation verification (clearance testing)
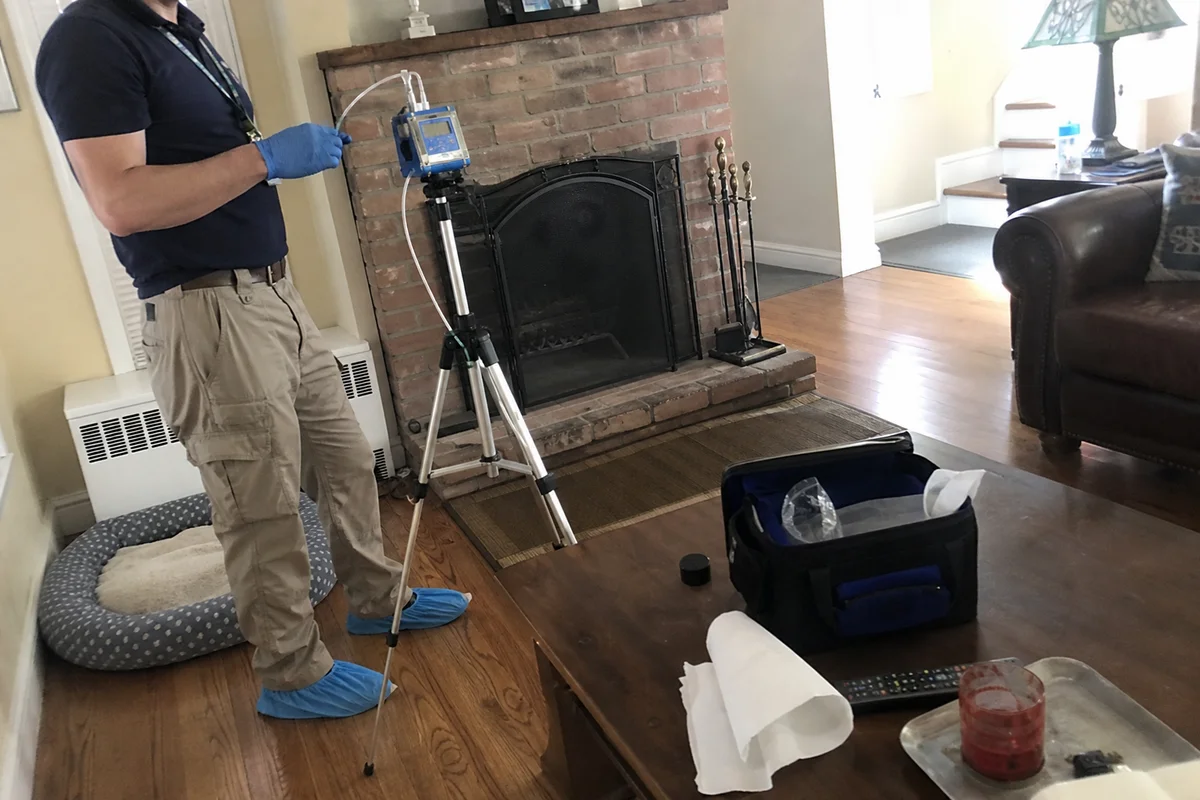
Before we take down containment, an independent Indoor Environmental Professional collects air samples inside the containment area. These are sent to a lab and compared to:
- Outdoor baseline (control sample)
- Unaffected areas of the home
- Pre-remediation samples if we took them
If levels are at or below outdoor baseline and match unaffected areas, remediation is verified successful. If levels are elevated, we go back into the area and address whatever we missed before re-testing.
This is what separates professional remediation from anecdotal “it looks clean.” Numbers are numbers.
Reconstruction
New drywall, insulation, paint, flooring, cabinetry — whatever was removed. Standard reconstruction sequence with mold-resistant materials where appropriate (paperless drywall, treated framing).
Timeline
- Small residential job (single bathroom, closet): 1 to 2 days remediation + 1 to 2 days verification + reconstruction
- Medium job (finished basement wall): 2 to 4 days + verification + reconstruction
- Large job (whole-basement or attic): 5 to 10 days + verification + reconstruction
Why S520 matters
The IICRC S520 standard defines the process above. Following it means:
- Consistent methodology across every job
- Documented decisions (why containment, what removed, how tested)
- Insurance defensibility (adjusters recognize S520)
- Legal defensibility (matters in real estate and health-claim contexts)
- Warranty backing
Non-certified remediation may skip steps to reduce cost. That’s a false economy — see our mold removal vs remediation guide for the difference.
Call (720) 842-1950 for a free mold remediation assessment.